From your phone
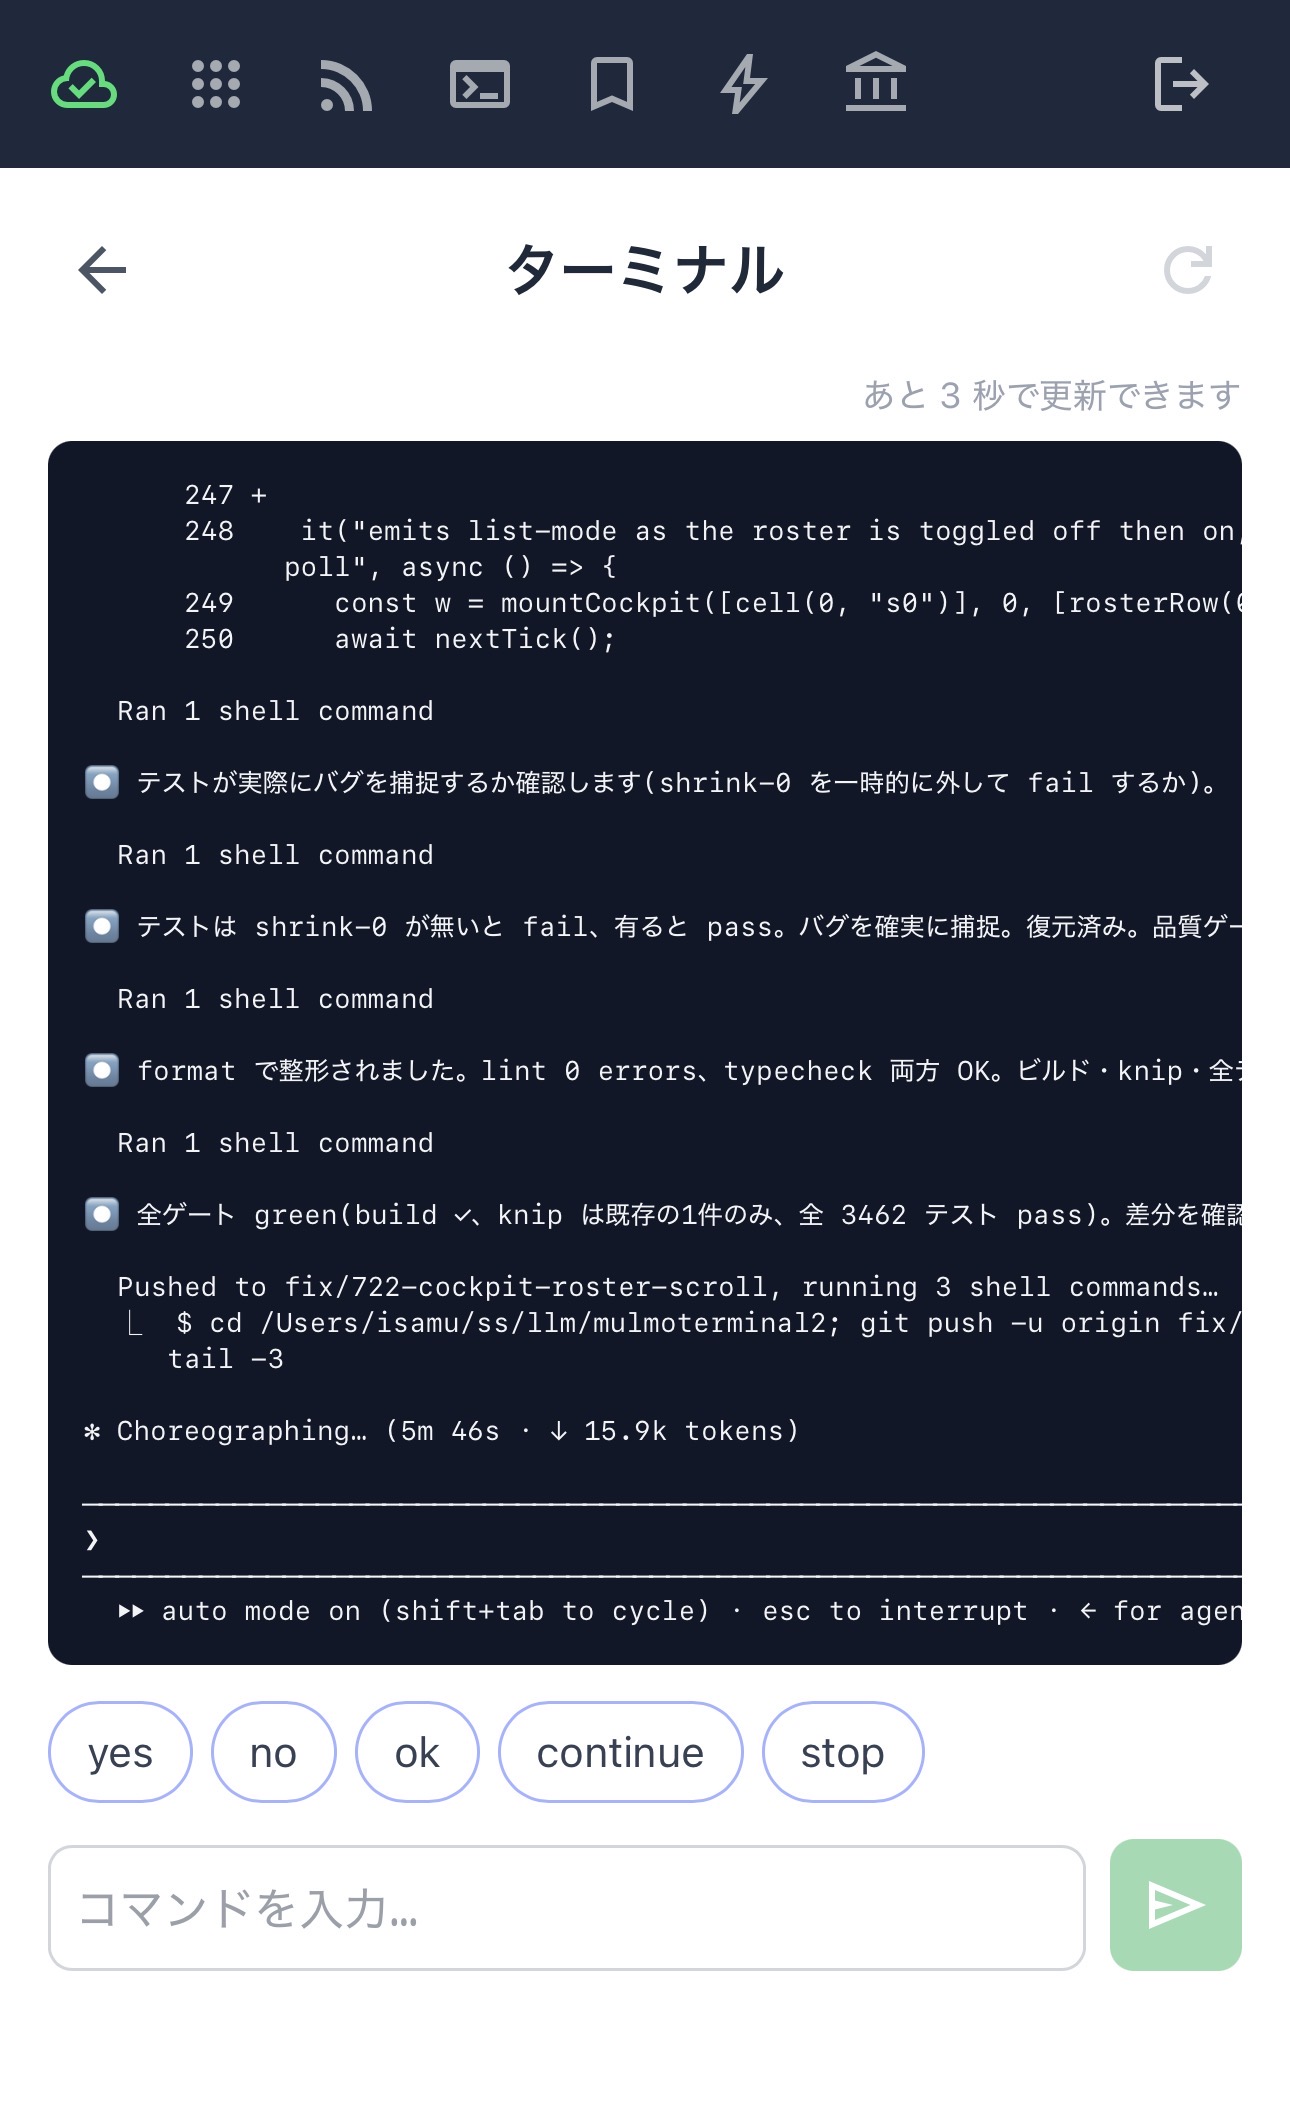
Your agents keep working while you’re away from the desk. The companion app — mulmoserver.web.app, a PWA you add to your home screen — is a remote control for the MulmoTerminal running on your Mac: watch a session’s live screen, answer it, and start a new terminal, all from your phone.
Everything here needs the RemoteHost link connected on the terminal side. That’s the same connection Mobile notifications uses, so if push already works you’re set.
Connecting
- On the Mac, open the RemoteHost menu in the toolbar and press Connect — it signs in with your Google account.
- On the phone, open mulmoserver.web.app and sign in with the same account. Add it to your home screen so it behaves like an app.
The toolbar shows the link’s state: Online, Reconnecting…, or Offline with the last error. A laptop that slept or changed networks reconnects on its own; if it gives up, you get a bell notification so you find out before the phone does.
What you see
Picking a session shows its live screen, headed with what the grid cell on the desktop shows: the directory, the git branch, the AI summary of the session, and the prompt that started the latest turn.
If that directory is a GitHub repository, its name links to the repo. The link goes to the repository’s front page rather than the current branch — a branch you haven’t pushed, or one that was deleted when its PR merged, would just 404.
The list offers the grid’s terminals. A session that survived a MulmoTerminal restart is still viewable — the screen comes from tmux — but you can’t type into it, because the process that was relaying your keystrokes is gone.
Answering
- Quick replies — tap yes / no / ok / continue / stop for the answer an agent is usually waiting for.
- The agent’s own suggestion — when Claude offers a follow-up as dim ghost text, it appears as a chip. Your phone has no Tab key, so the chip is how you accept it.
- Type — the text box sends a line as if you’d typed it at the keyboard.
Your own phrases (quick commands)
The replies above are short. For the sentences you send over and over — “PR作って”, “マージして”, “テスト通して” — add your own chips.
Settings → Phone quick commands. Give each one a label (the chip’s face, keep it short) and the text it inserts. They’re empty until you add some, so nothing appears on the phone until then.
Tapping a chip fills the input box — it does not send. You still press send, so a mistap costs nothing and you can edit before committing.
You can also scope a chip to the kind of session it suits: tick claude, codex, or shell, and it only appears there. Leave every box unticked and it appears everywhere — which is what you want for “マージして”, while git status belongs to a shell alone.
The same list lives in quickCommands in ~/.mulmoterminal/config.json if you’d rather edit the file.
Starting a new terminal
From a session you’re viewing, you can start another terminal in the same directory — a plain shell, claude, or codex. It’s the fastest way to act on something you just read on the screen without walking back to the Mac.
You choose the program; you don’t choose the directory. It’s always the directory of the session you were looking at, and the phone never sends a path — that’s deliberate, so a phone (or anything that got hold of your account) can’t start a process wherever it likes.
A MulmoTerminal browser tab has to be open on the Mac. The grid of terminals lives in the browser, so that tab is what actually opens the new cell — the host cannot do it alone. With no tab connected the phone tells you so instead of failing quietly.
The new terminal appears on the Mac’s grid and in the phone’s session list.
Notifications
Getting pinged when a task finishes — and the iOS/Android setup — is its own page: Mobile notifications — including which moments push, if they feel too frequent.