Basics — what you can do in the grid today
- The grid is “a board of agents”
- Launching an agent (launcher form)
- Reading a cell — “what each agent is doing and where”
- Tiling many, pages, and reordering
- Zooming into one (the cockpit roster)
- Mixing Claude and Codex
The grid is “a board of agents”
The grid view is the screen for supervising many AI agents in parallel. Each cell is one independent agent (or terminal). While one is thinking, you push another cell forward and pick up only the ones that call you — amber for a cell awaiting input or a permission, a blue ring for a turn that finished and awaits review — the goal is to run many agents solo instead of babysitting them all.
MulmoTerminal has two display modes; switch between them with the chat / grid icons in the top toolbar.
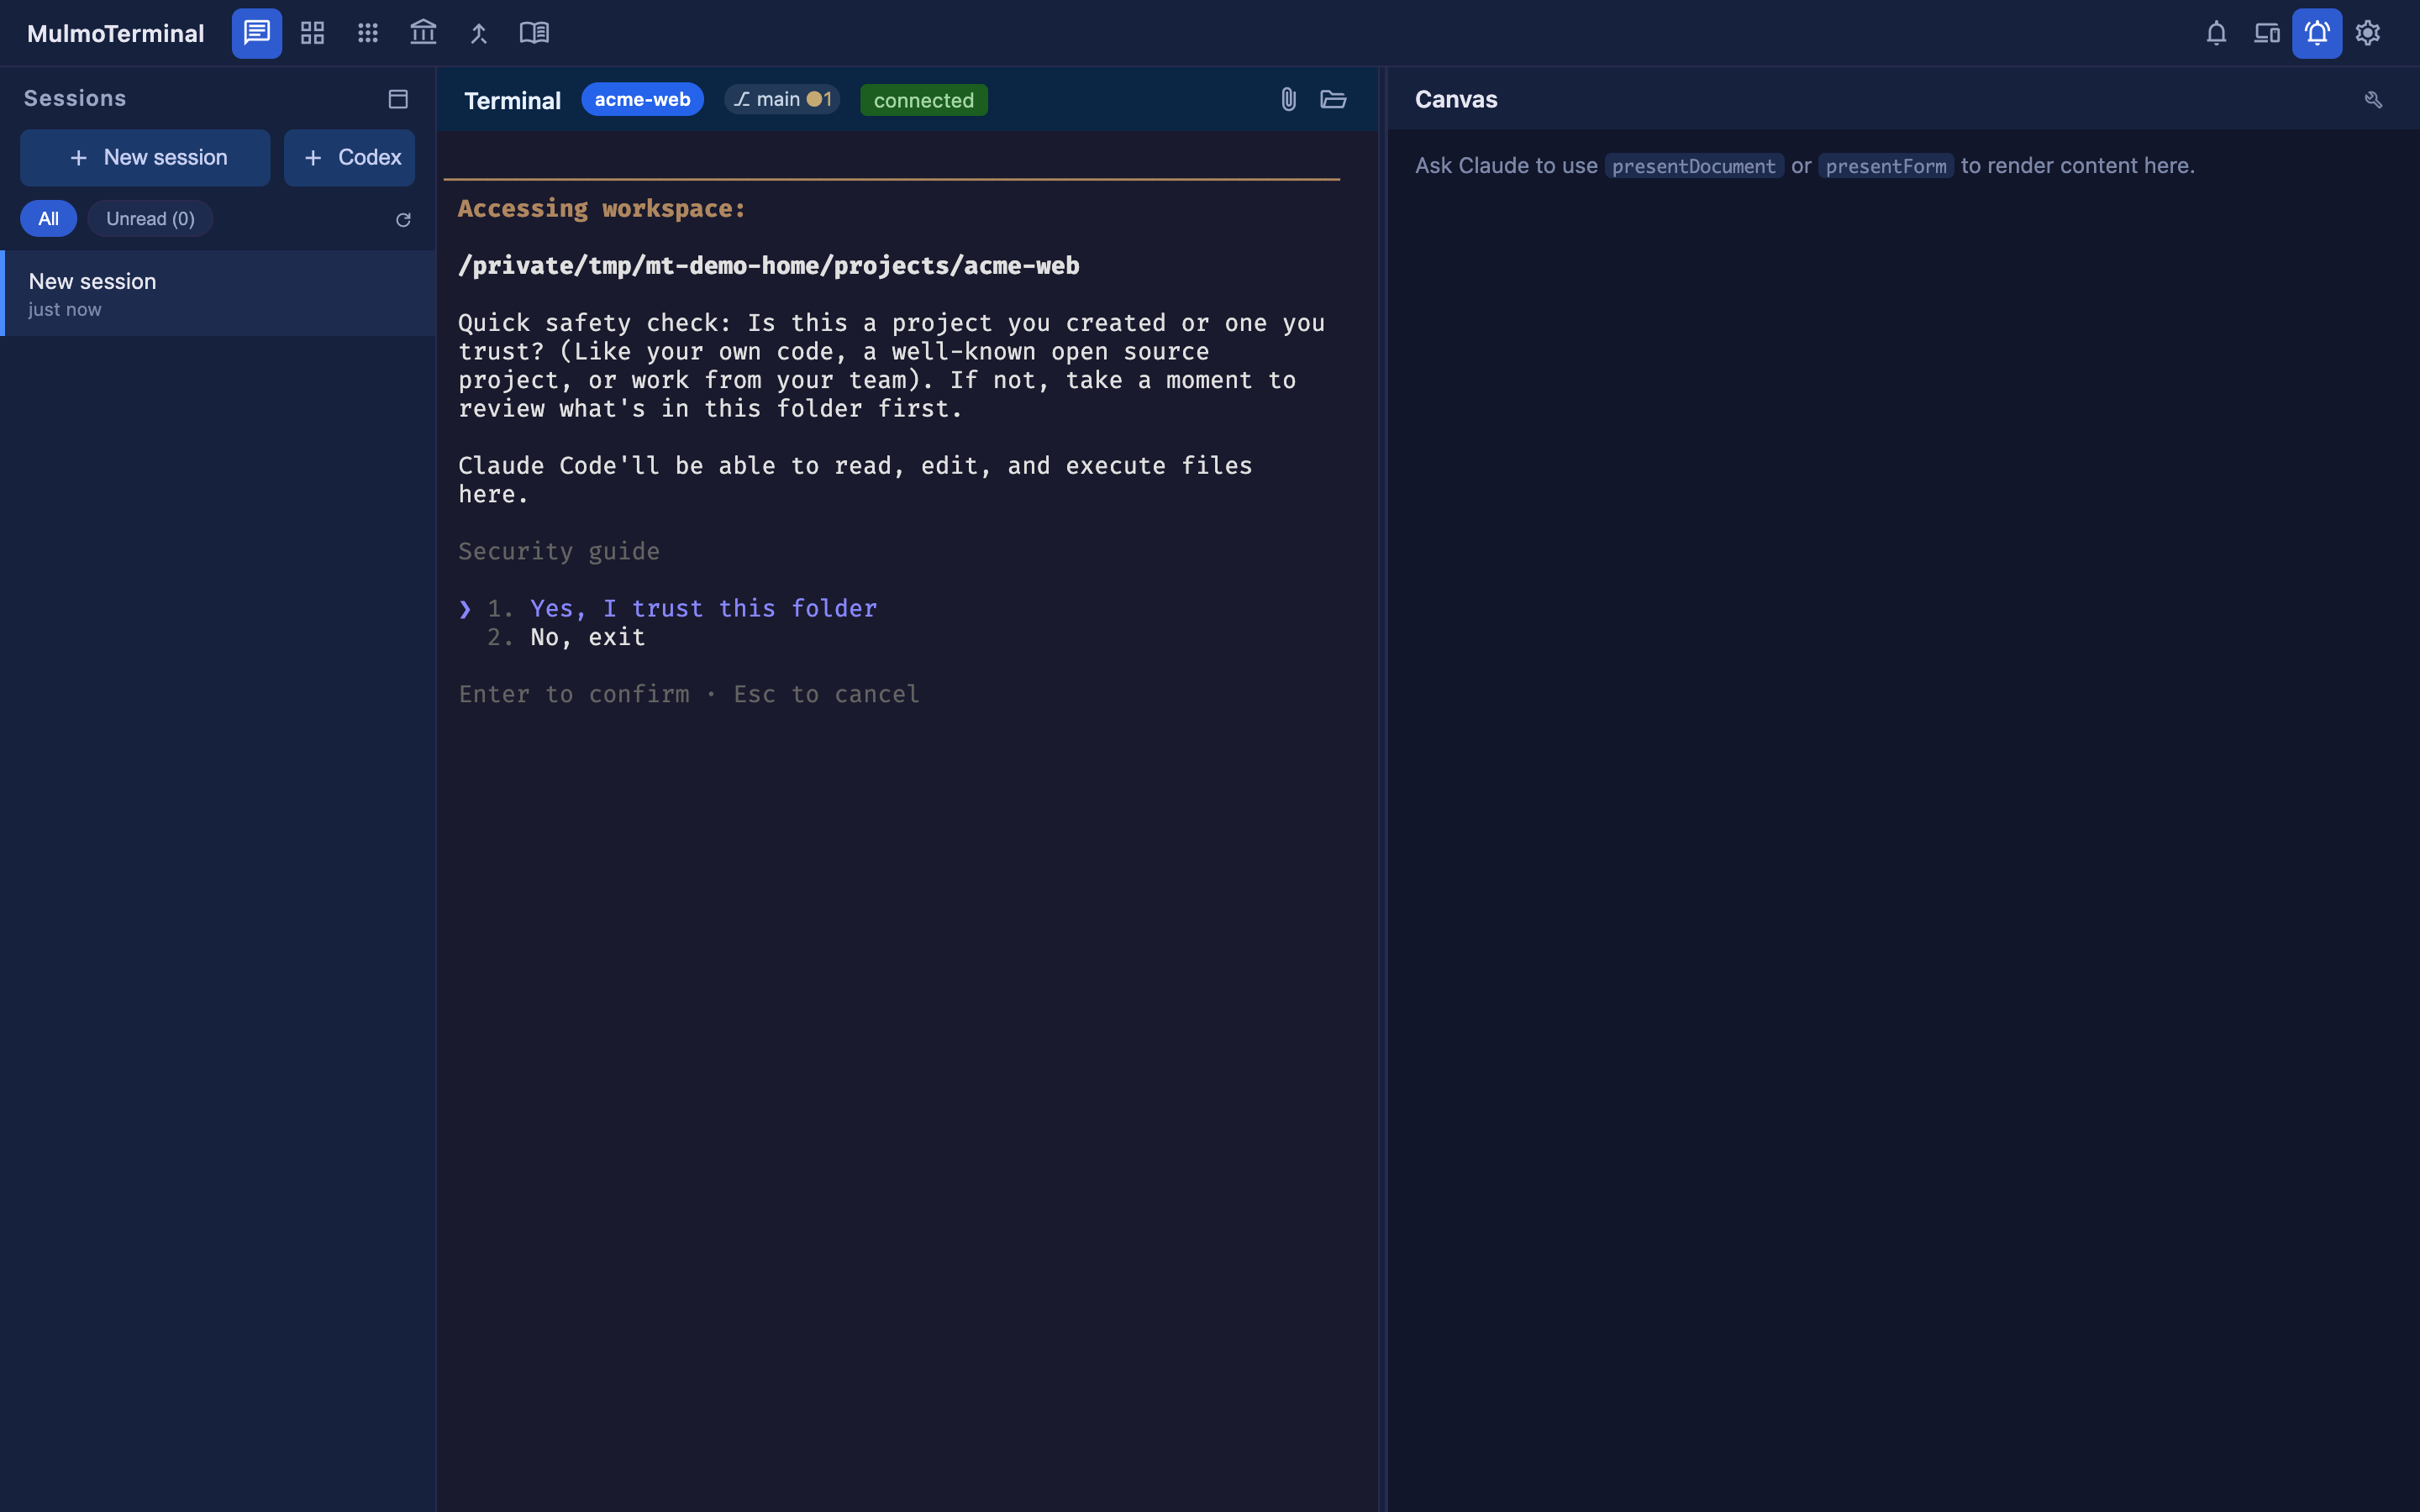
- Single view — the screen for focusing on one agent (conversation on the left, a GUI panel on the right for diagrams, forms, images, documents, video, and more).
- Grid view — the screen for supervising many agents at once, tiled side by side. This is the star of this guide.
Launching an agent (launcher form)
Empty cells in the grid show a launcher form. This is where you choose what to run and where.
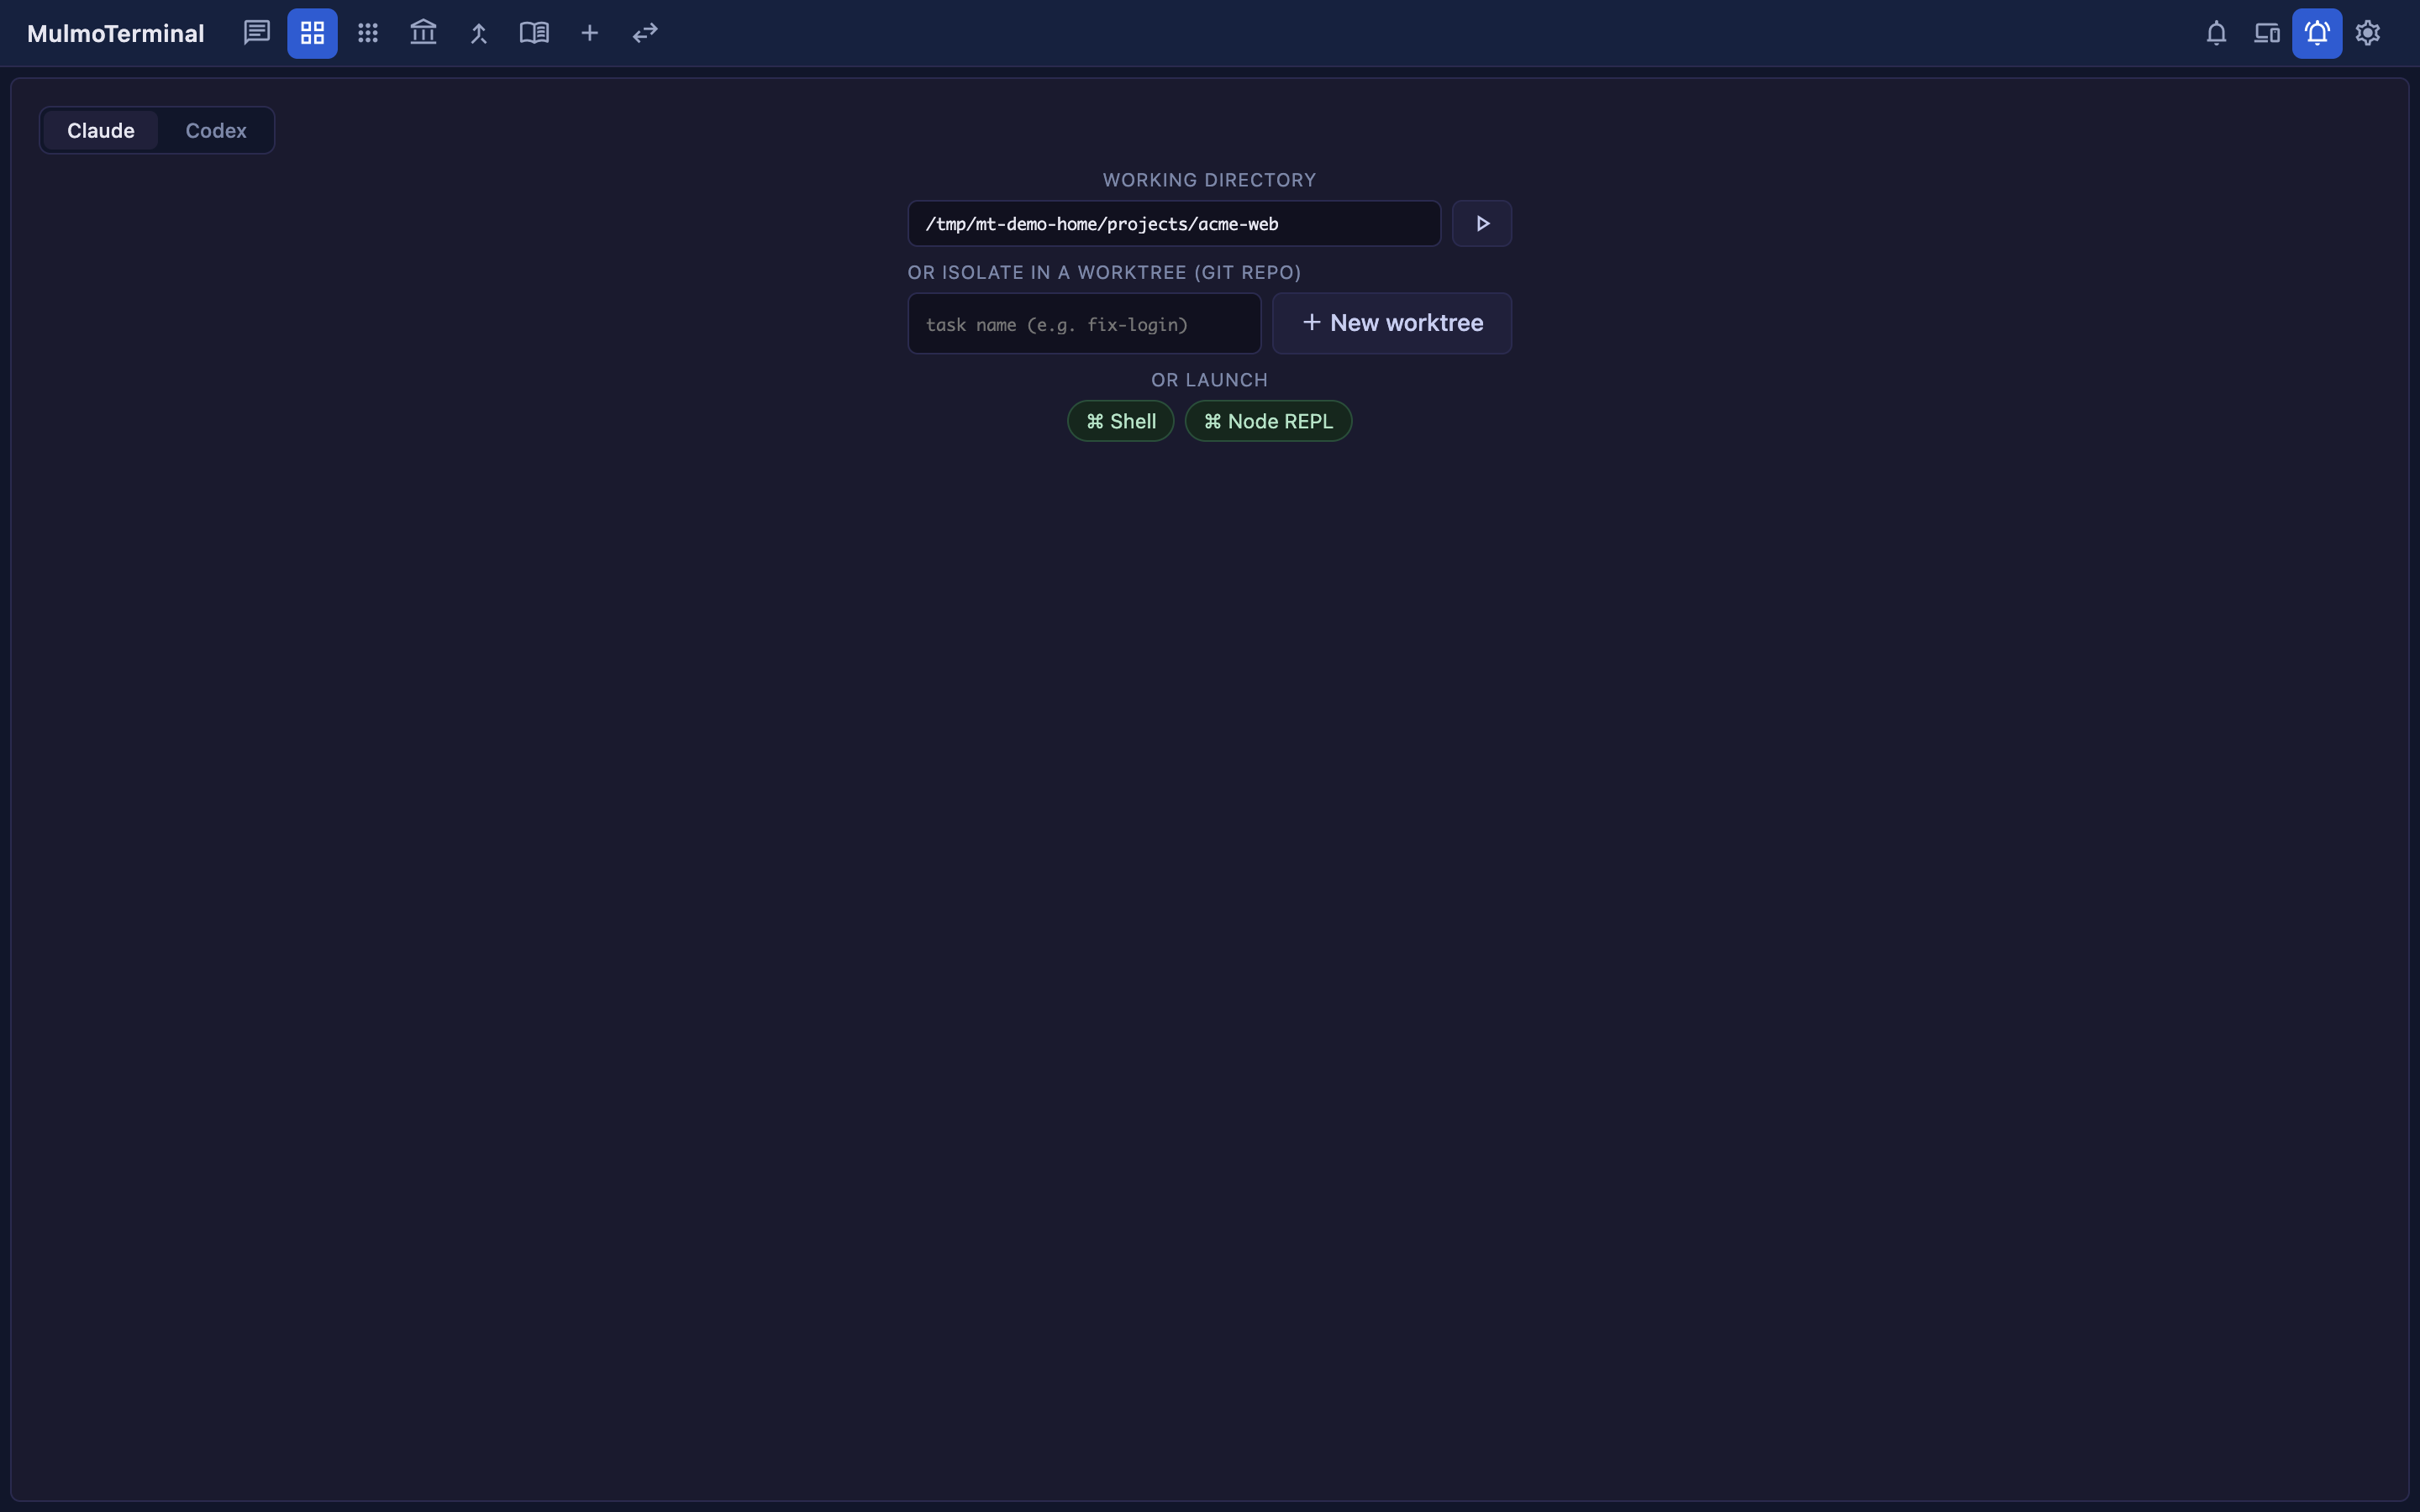
| Part | Role |
|---|---|
| Claude / Codex toggle | Choose the agent to run in this cell |
| WORKING DIRECTORY | Enter the working directory (▶ to launch). Frequently used directories are offered as clickable cwd preset chips that fill the field (the chip’s ▶ launches right away) |
| Model picker (when Claude is selected) | Pick the backend / model for this session only (→ providers) |
| OR ISOLATE IN A WORKTREE | In a git repo, enter a task name and hit + New worktree to create an isolated worktree and launch there |
| OR LAUNCH | Start a non-agent launch command (Shell / codex / anything) as a persistent terminal |
Reading a cell — “what each agent is doing and where”
The header of a running cell has two rows. Together they capture that agent’s status, location, and current work.
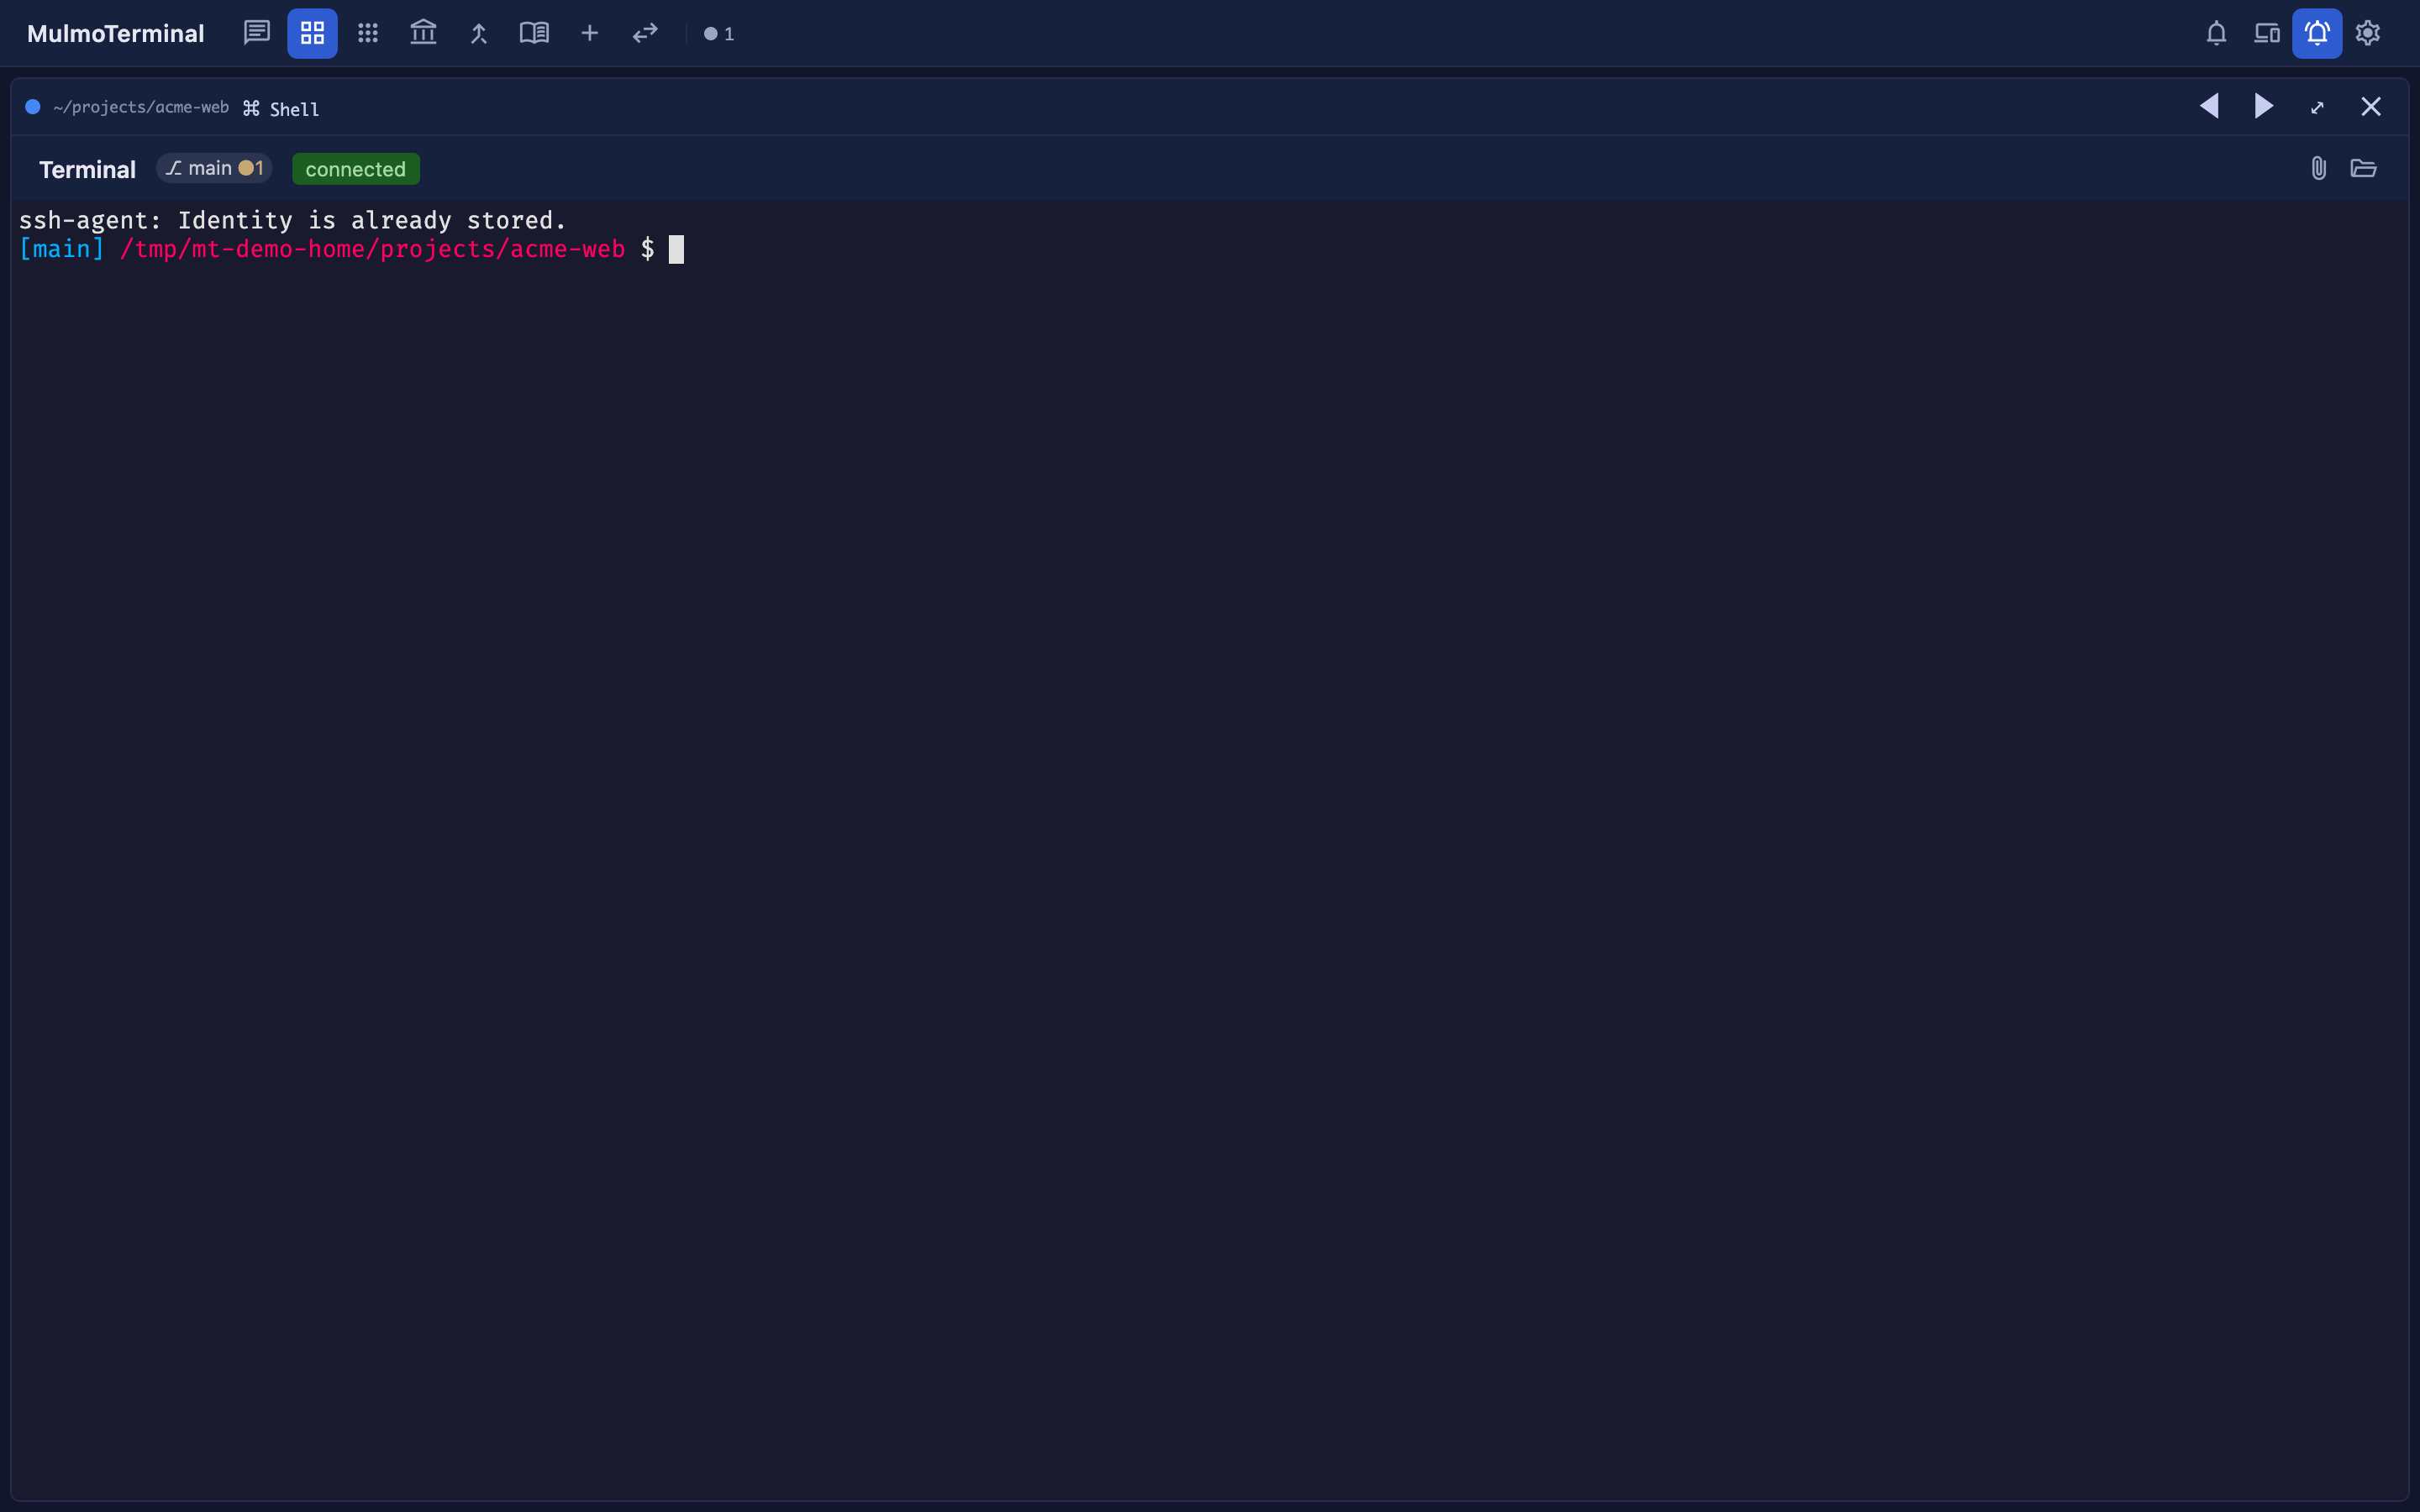
- Row 1 (info): status dot, directory, git chip (
⎇ branch ●changes), model / context size, what that agent is doing right now, and expand / close. - Row 2 (controls): connection status, 📎 insert a file path, 📂 reveal in the file manager (the default buttons — replaceable in config), GitHub, and the timeline 🕘 (tool-call history).
Status shows up as color. A bluish border means working (thinking), amber means awaiting input or a permission (Needs input), a blue ring + glow means a finished, unreviewed turn (Done — review; a green dot in the thumbnails), and neutral means idle. A sound plays too, so you know you’ve been called without watching the screen. This is the heart of the grid.
Tiling many, pages, and reordering
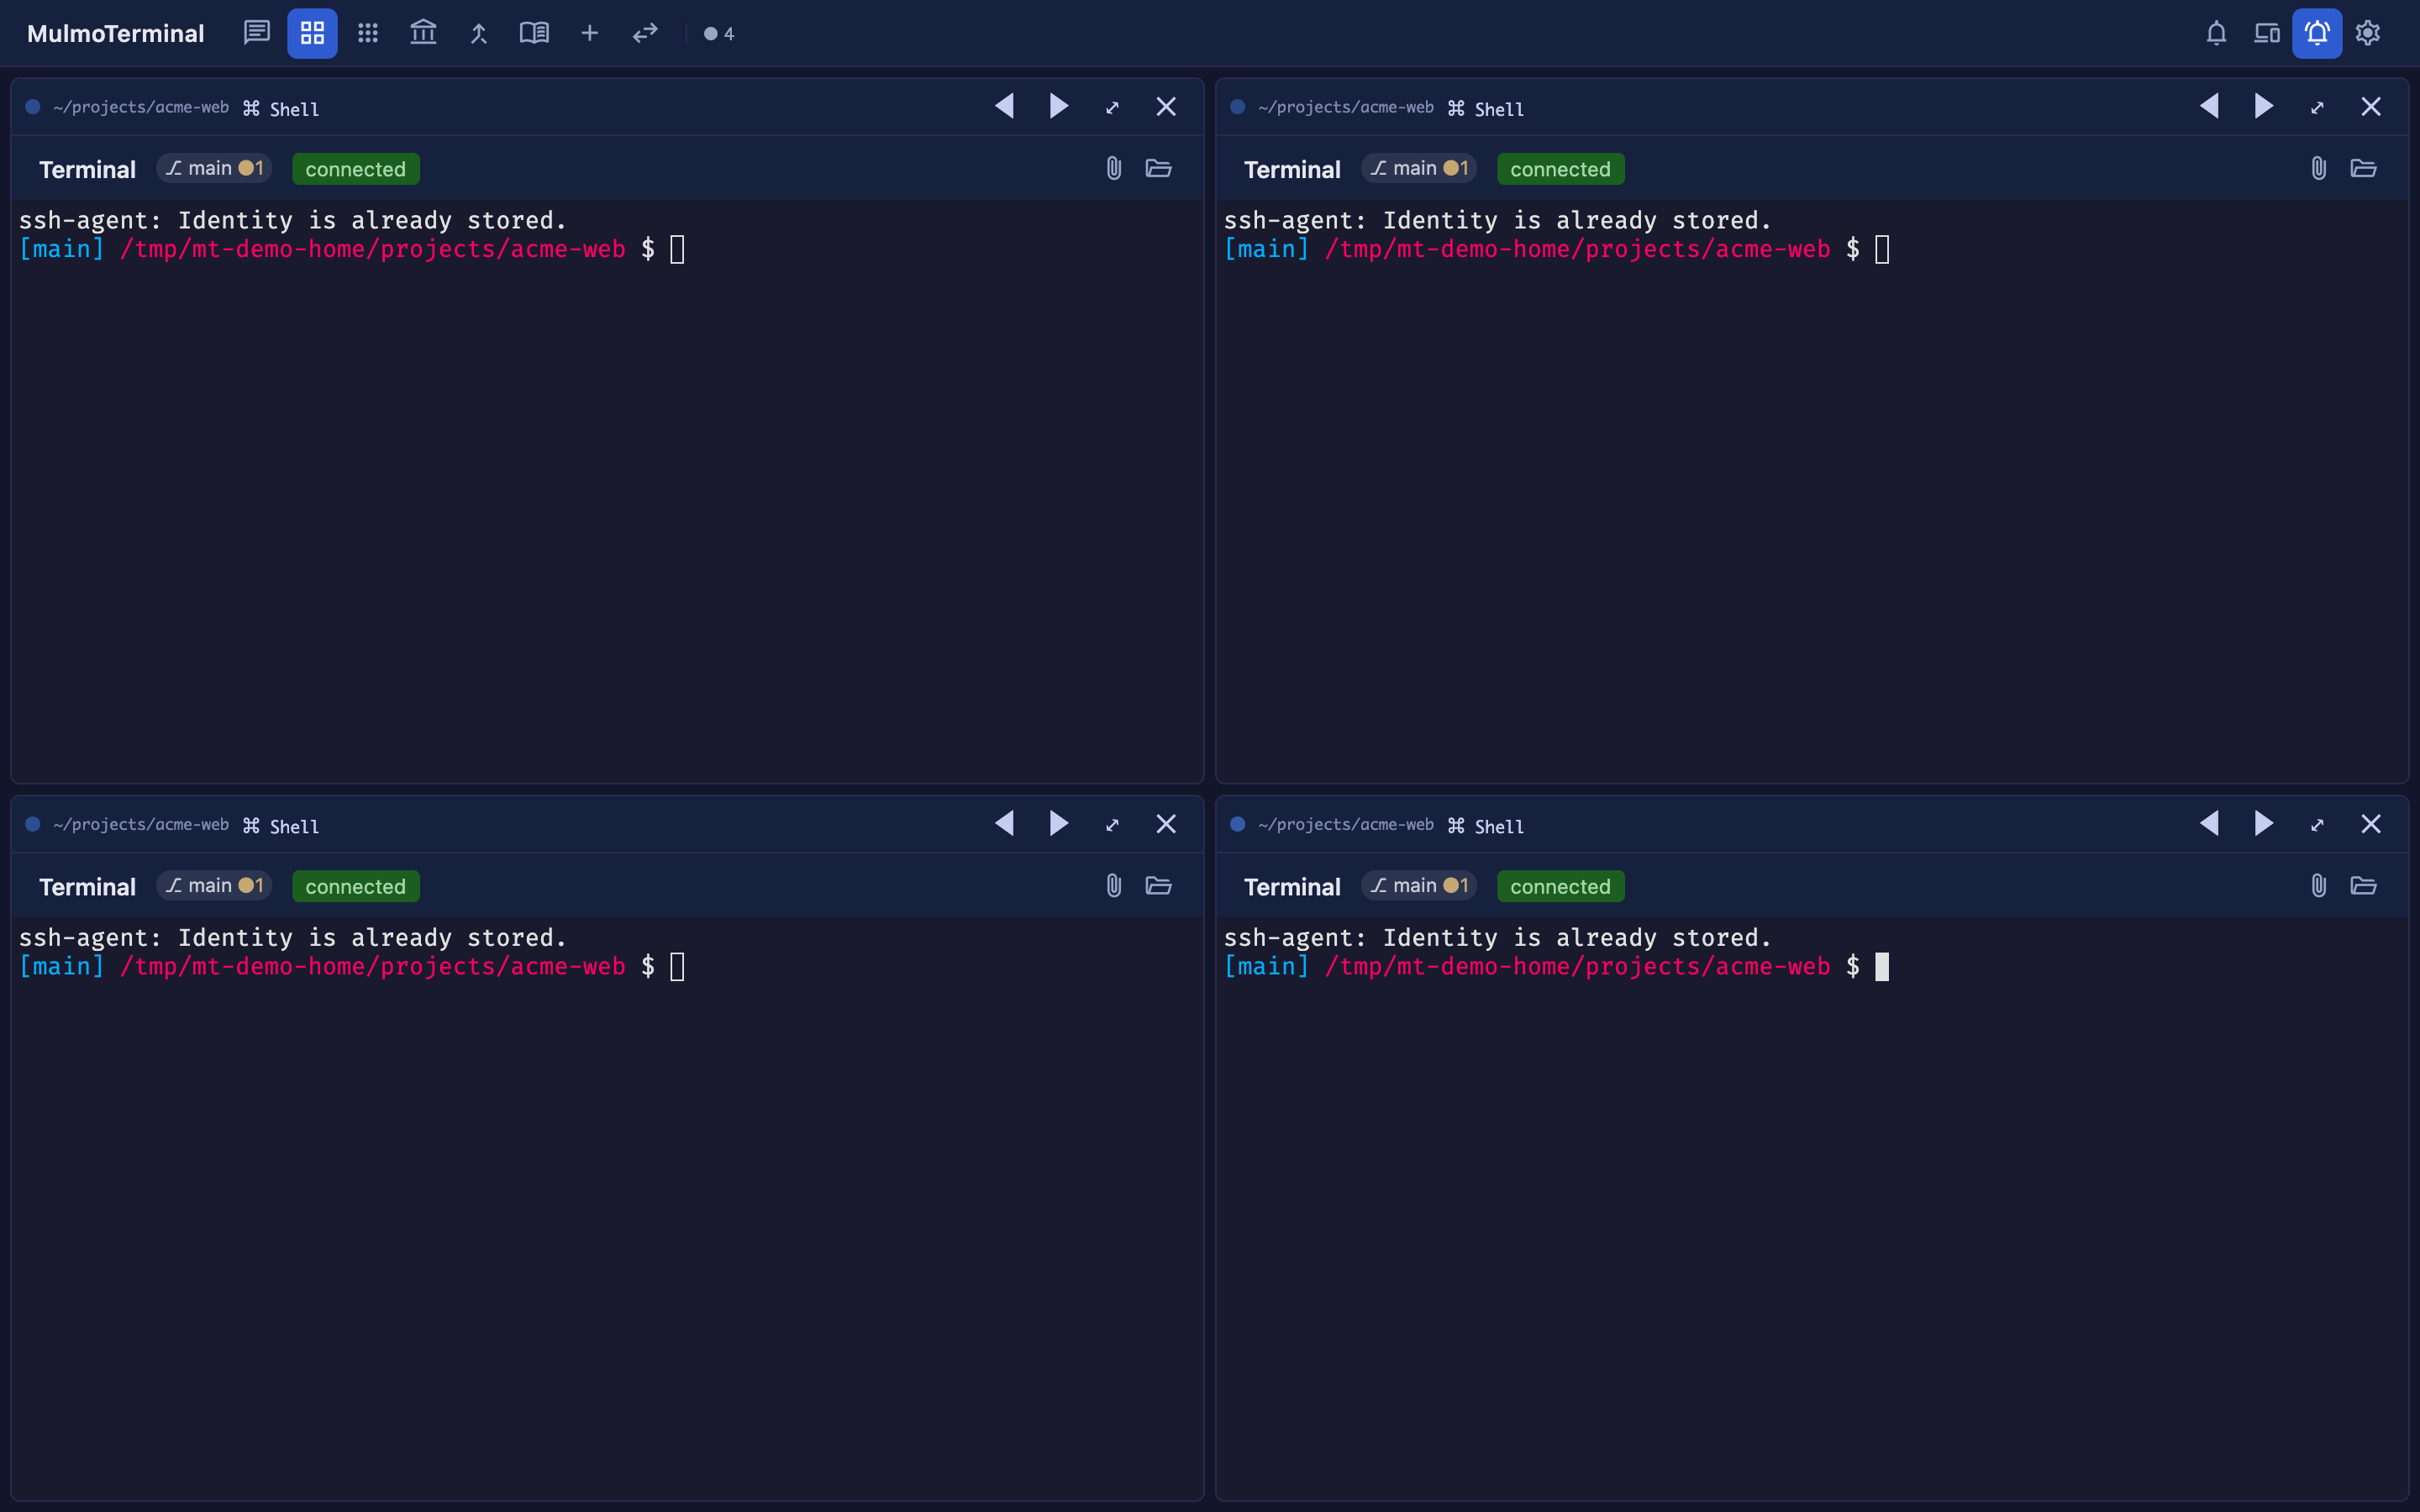
- Add cells with New terminal (+) in the toolbar. Up to 9 cells per page; overflow moves to the next page (tab).
- Enter reorder mode with Toggle grid cell ordering, then swap positions with each cell’s
◀ ▶.
Zooming into one (the cockpit roster)
Hit a cell’s ⤢ (expand) to show that agent large — and next to it, the cockpit roster: a text list with one row per session (the default). Each row carries the directory, an AI summary, the last prompt, the latest reply, a status word (running / planning / done / idle …), and the branch’s PR phase badge (draft / CI fail / changes / ready / merged …). Click a row to swap which terminal is enlarged; the ⋮ menu reorders rows. You stay zoomed in while still reading, in plain text, what everyone else is doing and how far along it is — this is the main screen for running many agents.
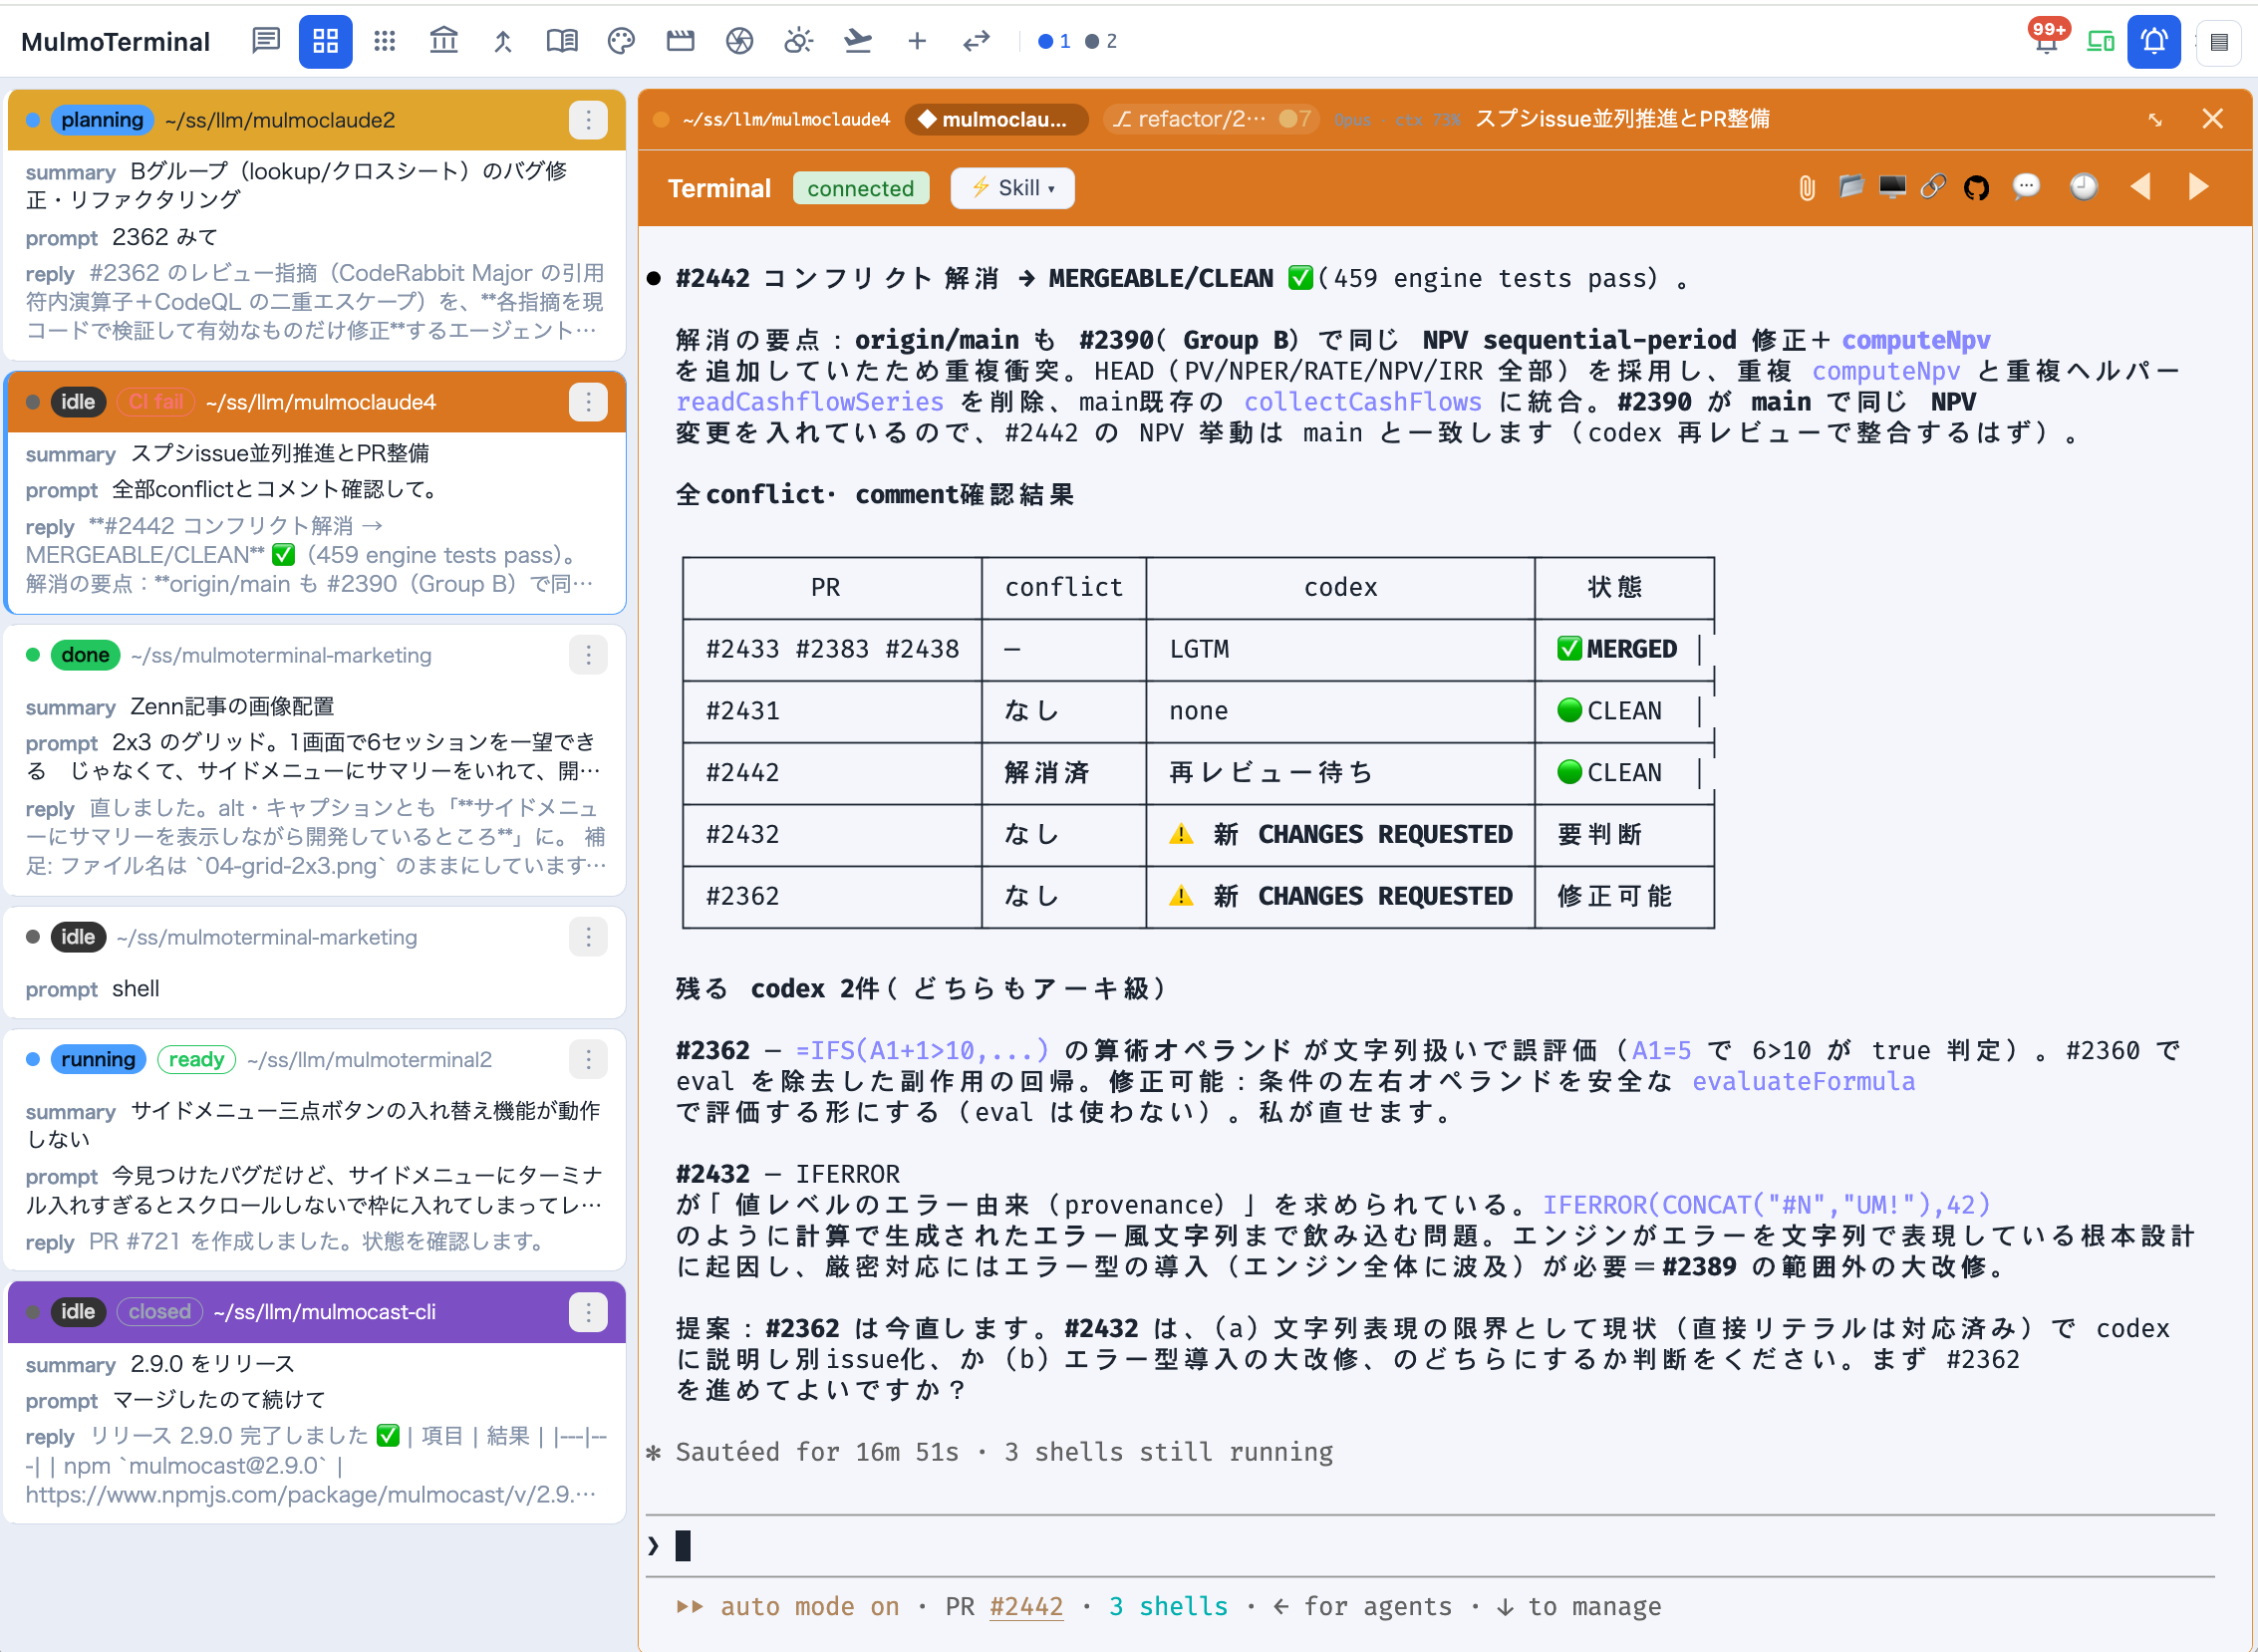
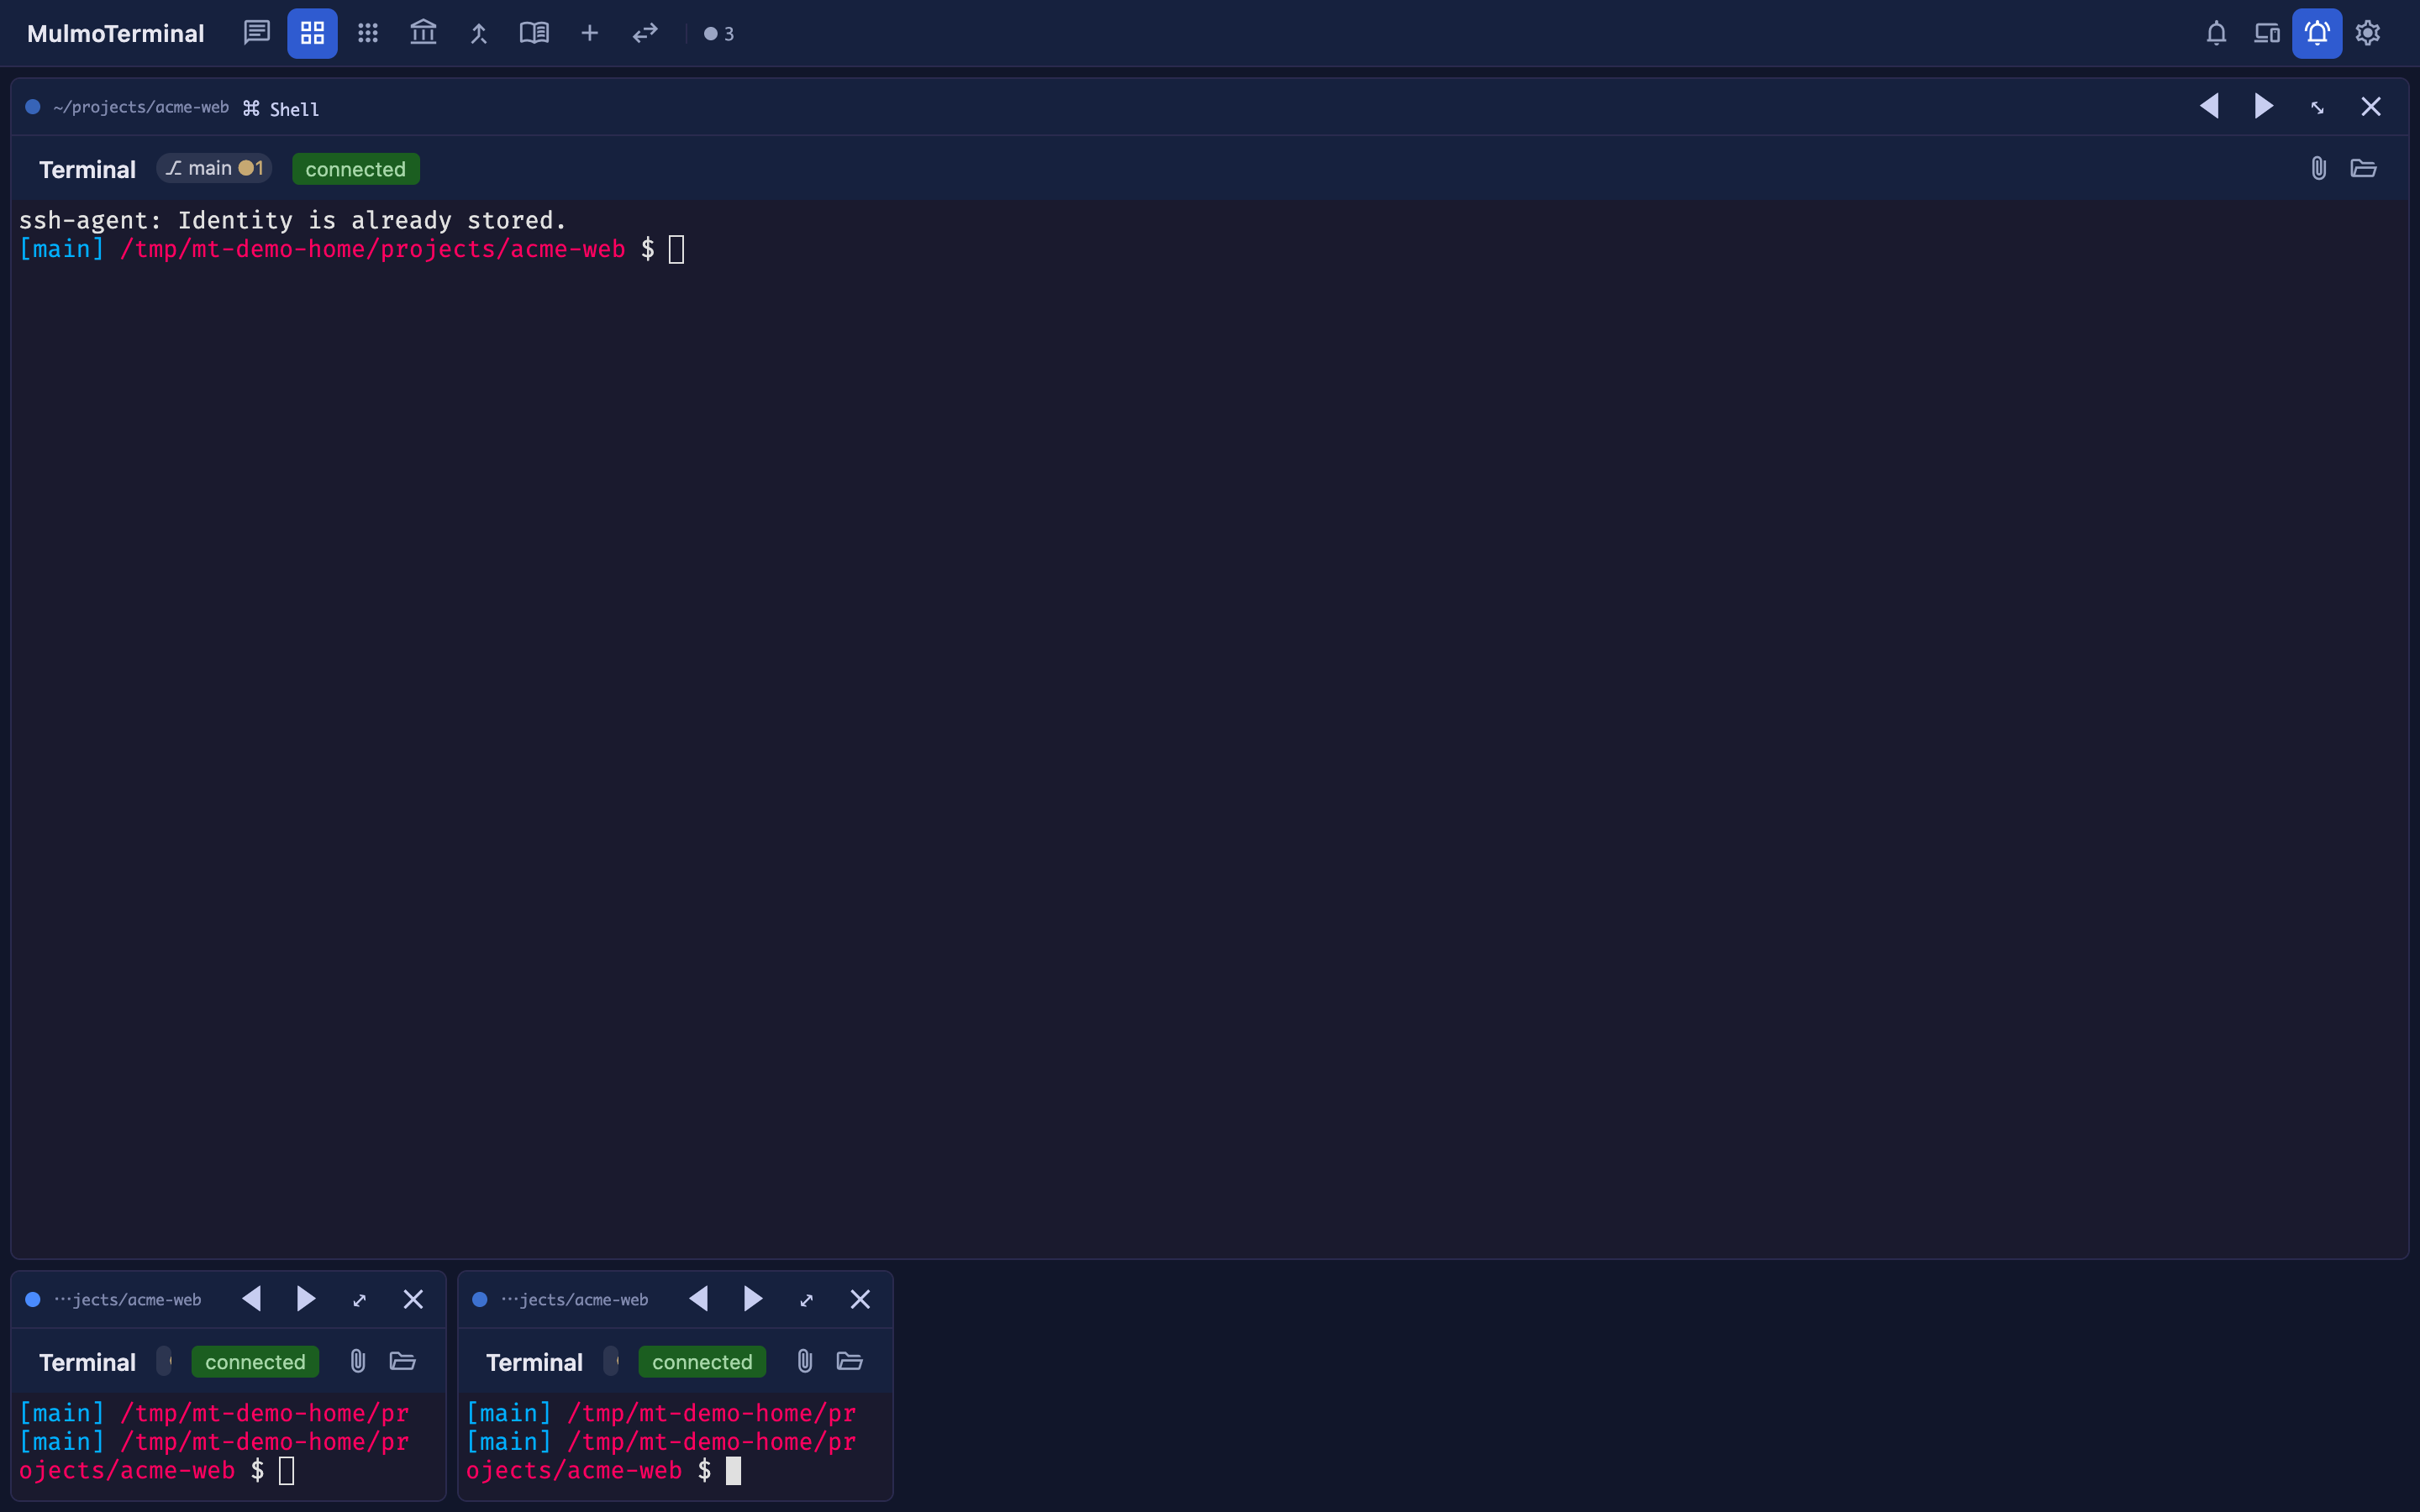
The ▤ / ☰ button in the top-right corner switches between the roster and the filmstrip (a thumbnail strip; click a thumbnail’s header margin to switch cells). ⤡ returns to the grid.
Mixing Claude and Codex
In the same grid, you can launch Claude or Codex per cell. Both share the same terminal experience, persistence, GUI panel, and visibility machinery. Use each for its strengths, or throw the same task at both and compare.